Hunter air purifiers are reliable and effective, and the units are of good quality. The company has over the years innovated new and smarter ways to clean, circulate, and condition air. Their units use a HEPA filter and pre-filter. The system works in such that dust and other irritants are pulled into the air purifier by the fan.
The pre-filter attracts larger particles and traps them on the pre-filter. Smaller particles like mold and dust pass through the pre-filter and are captured by the HEPA filter.
Other models feature a UVC light that helps kill particles not trapped on the permanent HEPA filter and the Photocatalytic Oxidation screen removes harmful VOC’S. Clean, purified air is then released into the room through the front grill as the Oxygenating Catalyst converts smog and ozone back into oxygen.
If you ever experience issues with your Hunter air purifier, it is recommended performing basic troubleshooting steps before calling Hunter customer support or taking the unit for repairs.
The following is a simple how-to guide and troubleshooting instructions for some commonly-reported problems.
How to Install and Use Hunter Air Purifier
Hunter Permanent HEPA Air Purifier (models: 30846, 30870, 30876)
To set up your air purifier for the first time, follow these instructions:
- Unpack your new air purifier and place the unit on a firm, level surface.
- Before turning the unit on, first confirm the filters are firmly in place as they could have come loose during shipping. To check the filters, push down on the tab under the handle.
- Gently pull the rear grill away from the unit and lift away.
- The washable pre-filter is mounted inside the back grill of the unit. Confirm that it properly covers the grill vents.
- The permanent HEPA filter will be resting inside the unit. If present, remove the plastic bag surrounding the filter and place the filter back into the air purifier. There should be arrows on the side of the filter indicate air flow and the direction the filter should be placed back into the unit.
- Set the tab on the bottom of the rear grill into the slot in the base of the unit and rock the grill until the top tab snaps into place.
- Plug the unit into a 120V electrical outlet.
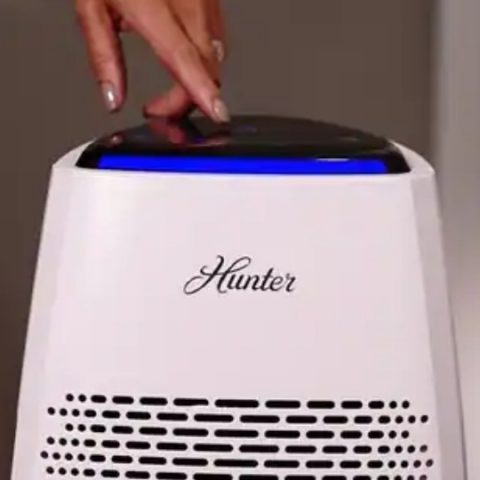
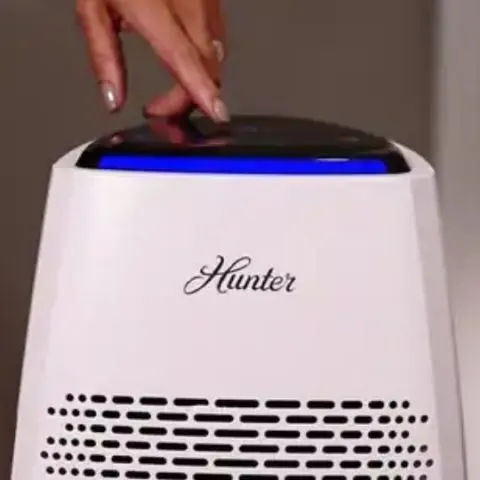
To operate the unit:
- Adjust the fan speed by rotating the dial so the indicator light aligns with the desired speed. There are 3 speed settings to choose from namely; low, medium and high speed.
- To turn on and off the UVC function of your air purifier, press the UVC light button.
- The ON/OFF indicator and the UVC indicator will stay lit while the fan and/or UVC is running.
Check this too: How to Replace a Keurig 2.0 Water Filter
Hunter Large Console Air Purifier with True HEPA and EcoSilver Pre-Filter (models HP800, HP800BL, HP800WH, HP800GR)
To install the air purifier, follow these instructions:
- Carefully remove your air purifier from the packaging and the plastic bag.
- Select a firm level and flat location. For proper air flow, locate the unit at least 6 inches from any wall or furniture. Do not block air opening.
- Plug the 2 prong power cord into a 120V AC electrical outlet.
- When lifting the air purifier, always lift it by the handle of the unit.
- Operate the unit indoors only.
To operate the unit:
- Press the center On/Off button to turn the air purifier on or off.
- Press the fan speed button to select Low, Medium, High, or Turbo fan speeds. Low speed provides the best product sound, Medium offers moderate cleaning, High speed provides strong cleaning power, while Turbo speed provides maximum cleaning power.
- To use timer function, set to desired speed and press Timer button to select 2, 4, or 8 hours of operation. The air purifier will turn off after specified time.
- When Sleep Mode is activated by pressing the Sleep Mode button, the air purifier will operate on low speed setting until mode is changed back to manual.
- Press the accent light button to turn the light on or off.
- To reset pre-filter indicator after pre-filter is replaced, press and hold the pre-filter indicator button for 3 seconds. The unit will beep 3 times to indicate reset.
- To reset HEPA filter indicator after HEPA filter is replaced, press and hold the HEPA filter indicator button for 3 seconds. The unit will beep 3 times to indicate reset.
How Do I Reset My Hunter Air Purifier
Power reset:
To power reset your Hunter HP800 air purifier, unplug the unit for 1 minute, then plug it back in.
Filter time indicator reset:
The HP 800 air purifier is programmed to remind you to replace the pre-filter after 3 months and HEPA filter after 6 months, based on continuous use. After you have replaced the filter, follow the instructions below to reset the filter indicator:
- To reset the pre-filter indicator, press and hold the pre-filter button for 3 seconds. When you hear the unit beep 3 times, this indicates the reset is successful.
- To reset the HEPA filter indicator, press and hold the HEPA filter button for 3 seconds. When you hear 3 beeps, this indicates the reset is successful.
How Do I Clean My Hunter Air Purifier
Hunter HP800 air filter
To clean the exterior follow these instructions:
- Clean the unit with a moistened soft cloth only. Do not pour or splash water on the air purifier or use any abrasive-type cleaner.
- Clean all external surfaces, especially the air intake grills and air outlet.
- After cleaning, make sure the air purifier is completely dry before plugging into a power outlet and turning ON.
Hunter air purifier (models: 30846,30870, 30876)
To clean your pre-filter, use a vacuum cleaner with an upholstery brush attachment and follow these instructions:
- Gently run the upholstery brush over the cleanable filter until all particles are removed from the filter.
- There is an arrow indicating which side to clean present on top of the filter.
- Do not wash the filter as doing that may damage the filter or air purifier.
Clean the unit as per the following instructions:
- Clean the outside of your air purifier with a soft, damp cloth.
- You can clean the rear grill in soapy water after you have removed it from the unit and the pre-filter has been removed.
- To avoid causing damage to the filters or motor, make sure the grill is completely dry before re-installing it on the unit.
How to Change the Filter on a Hunter Air Purifier
Under normal conditions of continuous use, it is recommended you change your Hunter HP800 air purifier pre-filter every 3 months (approximately 2,160 hours) and the HEPA filter should be replaced every 6 months (approximately 4,320 hours).
However, you may need to replace the filters more regularly depending on air quality and environmental factors.
To change pre-filter follow these steps:
- Remove any packaging and plastic bag from the new filter before replacement.
- Switch off the air purifier and disconnect the unit from the electrical outlet.
- Open and remove the front grille. Place hands in the slots on both sides of the unit and gently pull.
- Remove the filter from the compartment of the air purifier.
- Remove the pre-filter from the HEPA filter by gently pulling away from Velcro.
- Align the new pre-filter with the HEPA filter and firmly press to attach.
- Put the filter back in the compartment of the air purifier.
- Put the front panel back in place on the air purifier.
- Place the front panel back on the air purifier. Align the tabs at the bottom of the panel with the slots on the air purifier and push until the panel latches in place.
- Dispose the dirty filter you have replaced.
To change the HEPA filter follow the steps below:
- Remove any packaging and plastic bag from the new filter before replacement.
- Switch off the air purifier and disconnect the unit from the electrical outlet.
- Open and remove the front grille. Place your hands in the slots on both sides of the air purifier and pull gently.
- Remove the filter from the compartment of the air purifier.
- Remove the pre-filter from the HEPA filter by gently pulling away from Velcro.
- Align the pre-filter with the new HEPA filter and press firmly to attach.
- Put the filter back in the compartment of the air purifier.
- Put the front panel back in place on the air purifier. Align the tabs at the bottom of the panel with the slots on the air purifier and push until the panel latches in place.
- Dispose the dirty filter you have replaced.
Why is My Hunter Air Purifier Not Working?
If your Hunter air purifier shuts off unexpectedly, safety features may have activated to prevent damage or injury. If this happens, check the following:
- Check whether the air purifier is plugged into a working electrical outlet.
- Check whether the filter is correctly located in place.
- Confirm whether the grille is latched firmly in place.
- Check whether a household fuse is blown, or if a circuit breaker tripped. Replace the fuse or reset breaker as necessary.
- If you used a regular fuse, use a time-delay fuse or time-delay circuit breaker.
How to Maintain and Care for Your Hunter Air Purifier
Proper maintenance and care is necessary to keep your Hunter air purifier working effectively, and for longer. Follow the maintenance tips below for the various air purifier models.
Hunter air purifier models 30846, 30870, 30876
Periodically check your air purifier for performance. If there are captured particles in the pre-filter and/or HEPA filter, or they are covered in dust, you should clean them. You should check the pre-filter and filter at least every 6 months.
To check the pre-filter, follow these instructions:
- Turn off the air purifier and disconnect it from the wall.
- Remove the rear grill on the back of the air purifier by pressing the tab at the top of the unit, under the handle and pull the rear grill outward.
- Remove the permanent HEPA filter from the unit.
- Check the filter for particle build-up and clean if necessary.
The UVC light should be replaced every year. To remove and replace the UVC bulb, follow these instructions:
- Unplug the air purifier from the wall outlet and remove the back grill by pressing down on the top tab.
- Remove the 2 screws holding the photocatalytic screen in place and remove the screen.
- Remove the 3 screws holding the UVC guard in place and remove it from the unit.
- Then using your thumbs and forefingers grasp the bulb at the plastic top and bottom and gently roll the bulb to the left.
- When the bulb releases, slide the top of the bulb out of the bracket and remove.
- Partially remove the new UVC bulb from its packaging. Be careful not to let the bulb come in contact with your skin. Oils from your skin can damage the bulb and prevent it from working.
- Using the replacement bulb’s bag to prevent skin contact with the bulb, insert the base of the bulb into the lower UVC socket in the unit, with the flat side of the base facing the opening of the unit.
- Insert the top part of the UVC bulb into the top socket and roll the bulb to the right until it locks into place.
- Then reattach the UVC guard by inserting the back tabs into the air purifier and secure the 3 screws holding it in place. Note that the unit will not run if the UVC bulb guard is not reinstalled correctly.
- Next align the photocatalytic screen over the 2 holes in the unit and screw it back into place.
- Set the tab on the bottom of the rear grill into the slot in the base of the unit and rock the grill up until the top tab snaps into place.
Hunter HP800 air purifier
Hunter recommends periodically checking and replacing the filters for optimal performance:
- Under normal conditions of continuous use, it is recommended you change your Hunter HP800 air purifier pre-filter every 3 months (approximately 2,160 hours) and the HEPA filter should be replaced every 6 months (approximately 4,320 hours). However, you may need to replace the filters more regularly depending on air quality and environmental factors.
- Do not use water, any liquid or detergents to clean the filters.
Check this too: Holmes Air Purifier How to & Troubleshooting Guide
Hunter Air Purifier Noise Troubleshooting
If your air purifier makers an unusual noise, try the following troubleshooting steps:
- Reset the air purifier. Unplug the unit for 1 minute, then plug it back in.
- Check the installation of the filter.
- Check to see if the filter needs to be cleaned or replaced.
If you continue to experience a problem or you have additional questions, please contact Hunter Customer Support for assistance.

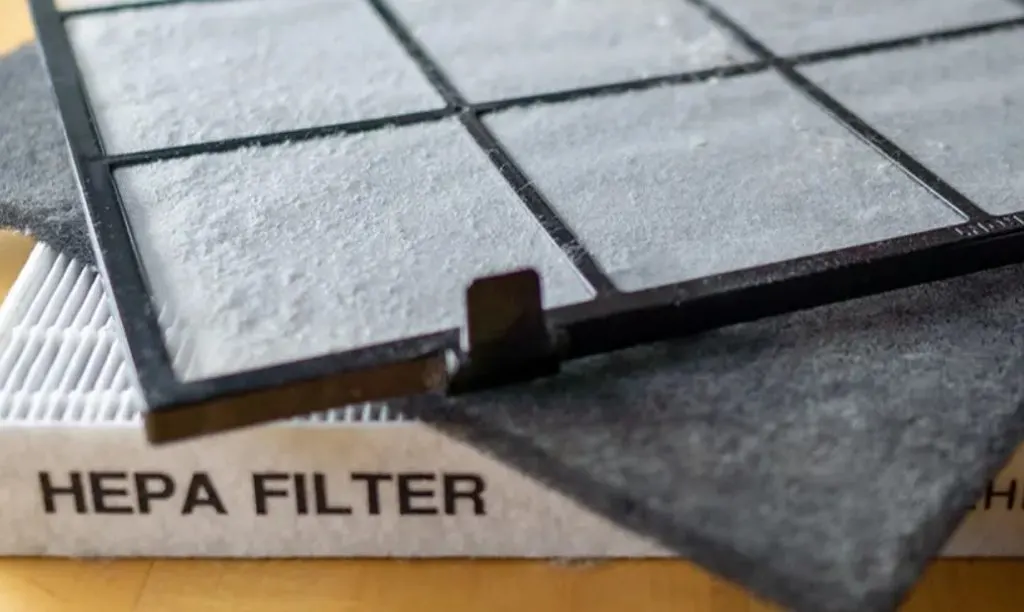
Can you clean a HEPA filter?
High-efficiency particulate air (HEPA) filters use an extremely fine filter to capture most allergens in the air from bacteria, hair, dust, to mold. HEPA filters are known to be superior due to the consistency of the woven glass fibers which trap any tiny particles from any air going through the filters.
Due to this, you can find them in a wide variety of air purifiers, air conditioners and humidifiers like:
However, this means that any slight stretching or tearing on the fibers could greatly tamper with the efficiency of the filters as particles will pass through the created gaps unfiltered.
It is also important to have a frame that is intact all the way from the gaskets to the seal to allow airflow through the filters and not on the sides.
HEPA filters and pre-filters provide maximum air purification and elimination of bad smells in your home. It is however recommended that you replace pre-filters after 3months, and the filters after a year to keep the unit running efficiently.
General thorough cleaning of the entire unit should be carried out from time to time to keep it looking good and reduce the amount of dust and dirt getting into the filters from the surrounding grille.
HEPA filters can be cleaned but one needs to know the following before getting to the cleaning part.
- HEPA filters come in two types, the washable filter commonly referred to as permanent, and the one that uses filters that are replaced with new ones when they get dirty.
- There a two ways filters can be cleaned depending on the type of filter you have but the general recommendation on cleaning is that filters should be replaced and not cleaned as each of the two has its shortcomings.
- Be sure to see the “washable” or “permanent” label and instructions from the manufacturer before setting to clean your filter.
- You cannot wash the HEPA filter if it is not labeled as washable as this will cause bigger damage that may force you to buy a new filter.
- The filter may not show signs of damage but you are likely to end up with a clean filter that is not working efficiently.
- Cleaning a filter can be a risky and dirty job as you’ll expose yourself to the same pollutants and microbial growth that necessitated you to use the HEPA filters in the first place.
- Consider cleaning the filter outside your house to avoid introducing pollutants and harmful micro-organisms into your living space in addition to wearing a proper mask to protect yourself from an allergic reaction.
- HEPA filters are made of a fine mesh of fibers and take a long to dry when washed. ( more than 6 hours in favorable weather) and thus the need to have another filter in your unit as you wait for the other to dry.
- Note that a wet filter can be a breeding ground for mold which can be very harmful in the long run.
- Using a vacuum to clean your HEPA filter will require that you have a HEPA filter for the vacuum to prevent the allergens and bacterial from further spreading in your home.
To clean the pre-filter follow these steps
- Turn the switch off and unplug the air conditioning unit. Bring the unit down and if possible take it to a space outside your house.
- Take out the front grille by carefully pulling the tabs on the sides of the grille. For some models, you can remove it by pressing the two buttons then sliding the grille forward.
- This will give you access to the pre-filter and the HEPA filter.
- Carefully take out the pre-filter attached to the hook tape on the grill, and set it aside.
- Use a rag, warm water, and two drops of dishwashing detergent to wipe down both sides of the grille thoroughly with the cloth to remove dirt and dust.
- Wipe the grille with a cloth rinsed in clean water to remove any soap residue then dry the grille with a towel.
- Use a wet clean cloth and wipe the outer side of the air purifier unit with the cloth to clean any dirt or dust.
- Replace the pre-filter to the back of the grille and secure it into place using hook tape.
- Reinstall the front grille onto the air purifier unit and make sure the buttons click into place then plug in the purifier unit to the power source.
How to clean a HEPA filter
- A washable or permanent HEPA filter can be cleaned by gently rinsing it under cold water and being careful not to interfere with the filter material.
- Let the filter soak in water for a few minutes moving it back and forth to remove dirt and dust.
- Rinse it off in clean water until the water runs clear.
- Sanitize the filter using vinegar by mixing one part vinegar to one part water and spraying both sides. Let it sit for 10-15 minutes then rinse it out.
- Let the filter dry out completely before reinstalling it. Give it enough time to dry, about 6-10 hours.