
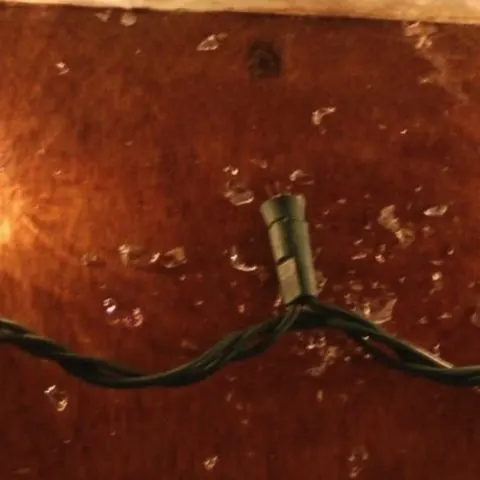
String Christmas lights are a great way to add some sauce to your home during the festive season. You can drape them all other your house or just your Christmas tree.
They look pretty and perfect when every little bulb in the system works. But what do you do if one or more bulbs go bad, taking out a section of the string?
The most logical thing is finding the errand bulb and replacing it before it ruins the Christmas spirit. Here is how to do that.
ProTip: A simpler workaround would be rearranging the string lights, so the damaged sections are out of sight. This is a quick trick if you don’t have the time or skill to troubleshoot and fix the problem. Out of sight, out of mind.
General Troubleshooting Procedure
Unless you have run-down Christmas lights that do not work completely, you need not buy new ones. And even then, fixing the lights I easier than you think. All you have to do is find the bad bulbs and replace them.
What you need:
- Voltage detector or Christmas light tester tool
- Safety glasses
- Outlet
- Replacement bulbs at correct voltage rating
Steps:
Start by looking for loose bulbs, damaged or frayed wires, and damaged electric outlets or plugs. This will help you determine whether the entire Christmas light is damaged or if you are dealing with a wiring or bulb issue.
Since some Christmas lights are wired in series, a blown or loose bulb could prevent units down the line from working.
In other cases, only the loose or blown bulb will stay off as others light up your world. If your unit has removable bulbs:
- Start working with the failed bulb closest to the power supply
- Wiggle the bulb that isn’t working and try screwing it back into the receptacle
- Turn the power back on to see if this fixed the problem
- If the bulb is still off, you will have to swap it with another known working bulb from the string
- Take the non-working bulb to the slot where you remove the working bulb. In this way, you will swap the two bulb positions. Mark the two bulbs so that you can remember their positions
- Turn the lights on and observe. If the new bulb on the previously not working spot lights up and the bad bulb moved to a new slot doesn’t, then the bulb is the problem.
- If the bulb that wasn’t working now lights up in the new slot, then the previous slow was the problem. Chances are the bulb you moved in from a previously working slot won’t work now.
- If both bulbs work, then the bulb was loose or wasn’t making good contact
How to find bad lights on Incandescent lights
These lights are usually wired in a series, which means electricity flows through all the bulbs to complete the circuit. If one bulb does not work, then the entire string of lights will not function. If you have an extremely long Christmas light, it may have two circuits.
Incandescent lights are power hogs. Sometimes, your lights might have four or six strands of wire. These pairs indicate different circuit pairs to deliver power to long strings without overloading a single circuit.
In this case, only the circuit with the bad bulbs will fail, while the other circuit without issues will still work. If the lights are wired in an alternating format, you will note that every other bulb in the string doesn’t light up.
If you are unlucky to have both or all parallel circuits at fault, the light string from that spot to the end will fail.
ProTip: If your lights are wired in series, the remaining bulbs will glow brighter since they have more power once one or more bulbs go out. If you don’t attend to the problem sooner, the remaining bulbs will blow.
Use the Christmas light tester or the voltage detector to determine which bulbs are not working.
- Plug your lights and place the tester near the bulb.
- The light tester should light up if the bulb is working and use the process of elimination to figure out which bulbs do not work.
- If you find a bulb that isn’t working, replace it with a working unit or swap spots with another working bulb to see if it starts working.
- Remember to turn off the lights at the power supply before handling the bulbs.
For the voltage detector, place it near the wire between the bulbs. If the detector does not light up when you place it on a particular wire section, it means the bulb before that wire section is damaged. Hence it is not transmitting electricity to the rest of the circuit.
Note that a lack of voltage after a bulb could also mean:
- The bulb is loose and not making proper contact with the receptacle
- The circuitry and wires after or before the bulb are damaged, causing an in-continuity
You can also use the general troubleshooting trick outlined above as it works best with incandescent Christmas lights.
How to find bad lights on LED lights
Unlike string lights, your Christmas lights will not stop working if one bulb stops working. This is because LED Christmas lights are often wired in parallel, and one unit going out won’t affect the rest of the string.
Moreover, since LED lights have very long lifespans, manufacturers don’t see the need to make their string lights user serviceable.
The bulbs will either be welded onto a circuit board strip or part of a fairy string that you can’t disassemble without a soldering rod.
If you can’t be bothered to de-solder and resolder new LED bulbs (they are very small, mark you), then you will have to use the Christmas lights as they are.
If you have LED Christmas lights with replaceable bulbs, the troubleshooting steps are similar to the ones mentioned above for incandescent string lights and in the general troubleshooting procedure.
Units will replaceable bulbs are:
- Fairly light strings with bulbs you can push in and out of the receptacle
- Lights that mimic incandescent bulbs but are, in reality, LED. You can screw them in and out of the receptacle.
Anything sat on a strip that resembles a circuit board is mostly soldered on and hard to replace. However, since such units have sections with markets where you can divide the strips, you can cut off any damaged parts of the strip.
- Turn off the light strip and carefully inspect its surface for any parts with a scissor mark printed on
- This means you can divide the light strip here, and the two different units will still work.
- Cut the strip at a strategic spot to lose the failing section.
- This technique will reduce your light string’s effective length, so you should only use it as a last resort or when more than one LEDs have failed.
ProTip: LED Christmas lights rarely fail unless you overpower them or someone mishandles them, causing physical damage. If you keep losing bulbs, consider checking your power supply to ensure that it is within recommended voltage and current range.
How to replace Christmas light bulbs
First, you need to buy replacement bulbs for your Christmas lights with the same voltage rating and color as those on your Christmas lights. Make sure your lights are unplugged before starting this endeavor. Then carefully unscrew the damaged lights and screw the new replacement bulbs securely.
Check this too: How to Store Christmas Lights
Finally, plug the lights to check if the new bulbs are working. If they are still not working, you may have a wiring issue. And you can choose to fix the wire or get a new one. It is cheaper and less exerting to buy new lights if you have wiring compared to fixing it.