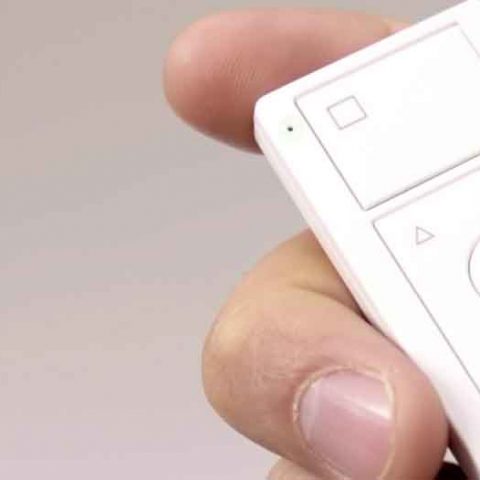

From turning the lights on or off to brightening or darkening them, the Pico remote control can be a convenient way to control your RF dimmers. Pico remote controls are for use with Lutron RF systems and can be used as a handheld remote, wall mounts or tabletop controls.
Since the controls are programmed by the installer, setup can be an issue, especially for first-time installers wanting to pair their devices. But you don’t need to worry, through this guide, you can know how to pair Pico remote with dimmer. Read on to learn more.
There are several reasons why your Pico remote won’t pair. The devices may not be within 30 ft of each other, which is the required distance. Another reason could be that you haven’t properly assigned the devices to the Pico remote control.
To program Pico remote control system that doesn’t contain the main repeater, you need to first assign the dimmers and then save your desired light levels. One Pico remote can control multiple devices assigned to it.
Assigning dimmer to Pico remote control
- Enter assign mode by pressing and holding the upper and lower buttons of the Pico remote control for about 6 seconds until the LED starts to flash.
- Press and hold the tapswitch on the dimmer for about 6 seconds until it flashes 3 times.
- Then assign keypad columns by pressing and holding the lower button of the keypad column to be assigned for about 6 seconds until the LEDs start to flash.
- Once done, exit assign mode by holding the upper and lower buttons of the Pico remote control for about 3 seconds until the LED stops flashing.
- You can then confirm programming by individually pressing the buttons on the Pico remote control. Assigned devices should respond by going to the default level for that button.
Saving Light Levels
- Press and hold the button you wish to customize and wait until the lights stop dimming.
- Use the tapswitch to toggle the lights on or off. Use the raise or lower button on the right side of the dimmer to make your desired light levels adjustments.
To unpair Pico remote from your assigned devices, you can make them “unaffected” and not respond to a button press. To do that on your dimmer, turn it off using the tapswitch if it is on. Once off, hold the lower rocker for about 6 seconds until the three middle LEDs turn on.
Another way is by resetting it to the default factory settings. This removes the Pico remote from the system and erases all programming.
How to Reset Pico Remote to Factory Settings
- Triple tap and hold either the upper or lower button on the Pico remote control. Don’t release the button after the third tap.
- Press the button on the third tap for about 3 seconds until the LED next to the upper button turns on solid.
- Immediately release the button and triple tap again. The LED next to the upper button will flash quickly, and when it stops, you have reset Pico remote.
Technology has undoubtedly made things easier and convenient, with its only downside perhaps being the challenges less tech-savvy people face setting up and using some of these systems.
Check this too: Best waterproof smart TV for the bathroom
Pairing a Pico remote is one example, which can prove to be a headache. Hopefully, with the above guide, you will be able to pair your Pico remote with a lamp dimmer without a hitch. You can also contact their support team on any queries that you may have.