
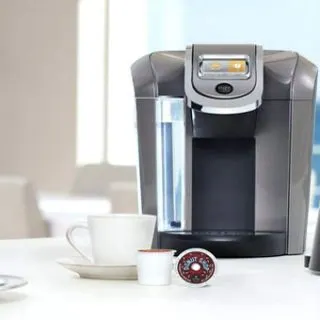
If you are a proud owner of a Keurig brewer, then you know it saves you time as it brews your first cup of caffeine in the morning. This is possible by its ability to store about a cup of water in its reservoir. Because it takes good care of you when you need it, you also have to take care of your Keurig if you want it to serve you long.
It is essential to empty the Keurig internal reservoir regularly. This is especially important if you are not a coffee enthusiast and the Keurig stays for some time without use. Here are a few steps on how to drain water from Keurig 20 without disassembly.
Check this too: Best kitchen faucet for low water pressure
Brewing the water out
The Keurig coffee maker does not have an elaborate drain plug; hence removing the water from inside is not that obvious. But you can trick your Keurig to brewing hot water even though its external reservoir is empty.
The LED display will show a PRIME message meaning the brewing is complete and the Keurig internal reservoir is empty.
Follow these steps to get rid of all water from your Keurig brewer:
Step 1 External Reservoir Float Adjustment
First, empty the water contained in the external reservoir. If you look inside, you will see a metal disk near the bottom.
Reach this disk and slide it into place on top of its track. Push it a little to ensure it stays into place.
Then replace the reservoir. This way, your Keurig coffee maker will be operating as if the reservoir is full.
Check this too: How to clean high gloss white kitchen cabinet
Step 2 Pressing the Brew Button
As usual, put a cup below the spout and press the brew button. Because you are not brewing coffee, there is no need to put any coffee cartridge in.
But you can reward your effort by using the water you are draining out to make yourself a cup of coffee.
Step 3 the PRIME Message
Look at the LED display for the PRIME message. After the brewing is done your Keurig will be able to display the PRIME message on its LED screen.
However, at times, you might get the message to add water only. If this is the case, adjust the float and repeat the brewing process.
After brewing twice, the message on display should be PRIME. Your Keurig’s internal reservoir should now be empty. You can sometimes use this process to heat up water especially if you miss a coffee maker with a hot water dispenser.
Check this too: Best portable pizza oven
Following the above steps will help you get all the water out of a Keurig coffee maker without disassembly. It is good to drain water from Keurig for storage when not in use for optimal performance.