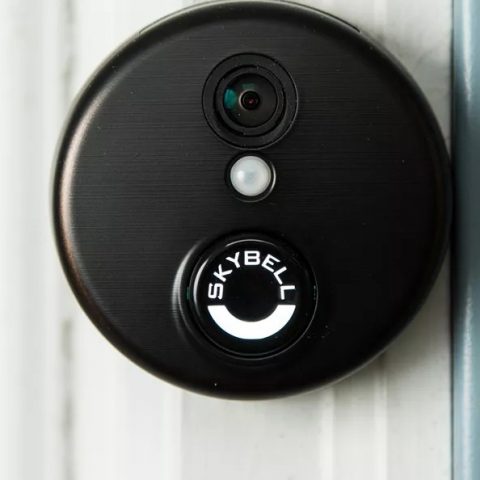
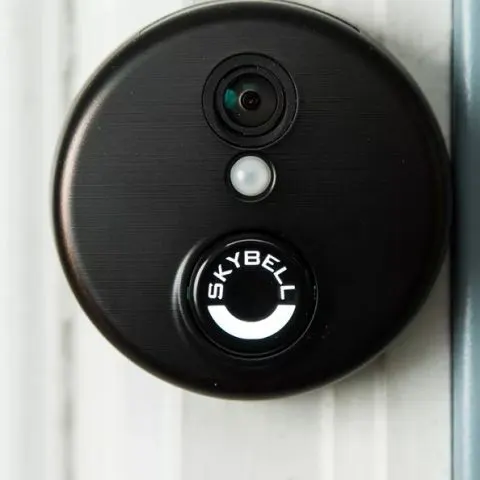
Everyone wants to feel secured and comfortable in their home hence the measures they take to enhance security. One of the popular measures is installing a doorbell with an alarm. The Skybell doorbell is one such product that seems to work well with most owners. However despite its effectiveness, it sometimes fails to work as expected. Below are some of the different things that may happen and how best to troubleshoot and resolve these issues.
How to install Skybell doorbell
You need to install the Skybell doorbell to use it. To do this:
- Insert one wire each into the connector on the SkyBell DDA
- Ensure the wire is inserted all the way and is not loose.
- Connect one wire lead to the “FRONT” terminal of the digital doorbell chime.
- Connect the second wire lead to the “TRANS” or TRANSFORMER” terminal.
How to install Skybell digital doorbell adapter
- Start by removing the cover from the digital doorbell chime and find its wire terminals.
- Remove the screws completely from the terminals and move the wires temporarily out of the way. Take note of the fact that some digital chimes come installed with a diode in place. If this is the case, note that the diode must be removed before you install the Digital Doorbell Adapter. In the case where the diode remains in place, the Digital Doorbell Adapter may fail, triggering issues such as the doorbell constantly ringing.
- Next, connect the Digital Doorbell Adapter wires to the chime.
- You need to attach the J4 wire to the “Front” Terminal on the Digital Doorbell.
- Attach the J3 wire to the “Trans” Terminal on the Digital Doorbell.
- Attach to J5 and J6 wires to the two wires from the wall by inserting them together into the blue connector that came with the Adapter and tightening them down by squeezing with a pair of pliers.
- Finish by reassembling and reinstalling the digital doorbell in its original location.
How to install Skybell without existing doorbell
It is possible for Skybell to work without an existing doorbell when you use an indoor power adapter. This adapter regulates the voltage flowing to the Skybell HD or Skybell trim plus which ensures that it works adequately. Consider using a plug-in chime for visitor notification as opposed to the mechanical chime. Such installation ensures that it works like any other wired doorbell, minus the hassle of hardwiring the doorbell from scratch.
Check this too: Zmodo Doorbell Set up, Troubleshooting & How-to Guide
What size doorbell transformer do I need for Skybell HD
A single SkyBell works well with a recommended transformer of 16VAC 10VA transformer.. For more than one SkyBell, go for the transformer 24VAC 40VA as the best recommendation. Fortunately, the two transformers are available online.
How to register my Skybell doorbell
You will first need to install the doorbell by:
- Removing the existing doorbell
- Installing the Skybell HD unit
- Downloading and setting up the Skybell app as follows:
- Visiting the app store on iOS or play store on Android devices
- Downloading the Skydoorbel HD app
- Tap to add the new Skybell on the next screen
- Tap okay to start. The tab will be at the bottom. The Skybell unit should be flashing red or green for this to work. You may need to follow the instructions if this is not the case. Once everything checks out, tap next to continue.
- Close the app temporarily when on iOS device then open it up and proceed to setting app and Wi-Fi
- Select Wi-Fi Network f you are on Android.
- Tap on Skybell HD Wi-Fi to connect
- Go back to the Skybell app and select Wi-Fi and tap next at the bottom of the app
- Enter your password and proceed
- Your Skybell HD will take a few minutes to configure but it will connect to your home network Once done, tap on Go to My SkyBell at the bottom of your screen. This will take you to the main screen of the app where you will see live camera view and all the recent activities on the app.
How to connect Skybell doorbell to wifi
The SkyBell transmits voice and video via the internet and wireless networks hence will need both local Wi-Fi as well as a good wireless connection. To assure this, connect to Wi-Fi as follows:
- First confirm the Wi-Fi signal gets to the outside location of the home to the SkyBell with the front door closed. This will depend on how far the router is since distance affects the signal strength. In case it is low, relocate the Wi-Fi router and place it closer to the SkyBell or get a Wi-Fi extender.
- Next, confirm the router is broadcasting a 2.4 GHz signal. This can only be an issue if a dual band router is used. The SkyBell cannot be synced to a 5 GHz-only network. Fortunately, most routers will have a 2.4 GHz network. Check the router configuration to configure a dual band router.
- Check for minimum upload speed of 1.5 Mbps, even though 2 Mbps is most recommended.
- Check and verify the availability of internet access at the location of the SkyBell . It should be reliable, and support consistent communication between the SkyBell and the router as this drives the quality of the SkyBell connections
How do you reset a Skybell doorbell camera
There are two options you go for as follows:
Option 1
- Press and hold the [Skybell] button (face of device) for approximately 50 seconds.
- Release after the button starts flashing blue
Option 2
This option works for only the Slim Line Wi-Fi Doorbell Camera (ADC-VDB105/106) has a pinhole reboot button.
- Using a paper clip or something similar, press and hold the pinhole button (it is situated on bottom of device).
- Release after 30 seconds.
- Using a paper clip or something similar, press and hold the pinhole button.
- Release after 30 seconds.
How do you reset a Skybell doorbell
- The rest happens by hitting and holding the main button for 45 seconds until it starts blinking rapidly.
- Then let go, allow SkyBell to restart
- Finally, give it 5 minutes. If it is green then you are all set.
You can also choose to factory reset the camera as follows:
- Press and hold the [Skybell] button for approximately 80 seconds.
- Release after the button starts flashing yellow. The Doorbell Camera then reboots and reverts to AP mode (i.e., flashing red and green LED).
How do I get my Skybell back online
In case the doorbell was offline or disconnected, get it back online as follows:
- Press and hold the main button on your SkyBell HD for approximately 30 seconds.
- Once the LED begins to flash green, stop pressing.
- The LED will eventually flash green and red and then blue.
- If the SkyBell continues to flash green and red, you will need to re-sync the SkyBell to your SkyBell app
Why is my Skybell not working
Issues may arise even when the doorbell worked perfectly before. To rectify this, proceed as follows:
- Complete a restart of the SkyBell device by hitting and holding the main button for 45 seconds until it starts blinking rapidly.
- Let go, and allow SkyBell to restart, and then give it 5 minutes.
- If it is green then you are all set.
- Allow SkyBell to reset for 5 minutes.
Why is my Skybell flashing red and green
It is possible that the device has gone into the syncing mode. This is what causes the colored blinking red/green. To fix it, you need to re-sync the device before it will work again. Alternatively, hold down the main button until it is rapidly flashing green and then release
All Skybell doorbell troubleshooting lights & their meaning
- Red and blue blinking: This indicates that the device is not getting enough power to fully charge the battery. To fix it, you need a digital adapter if it is a digital one as this helps power the Skybell correctly. Also check the back of the device for bulging or arching of any kind. The metal contacts at the back of the device should not be pushed in.
- Green: This is the default color that signifies the device’s readiness to use
- Rapid flashing green color: This signifies that the device is getting into the sync mode
- Yellow: Signifies that the device is booting.
- Red-Green : Indicates that the device is in sync mode ready
- Orange double flash: This shows that the device is waiting for a Wi-Fi connection, or that the connection is lost
- Blue-Green: Indicates that the device is successfully connected to the Wi-Fi and is awaiting connection to the SkyBell servers
- White: Indicates the device being in call mode and shows that a call was initiated by pushing a button or demanding viewing
- Rapidly flashing blue: Shows that a power reset performance is ongoing.
- Red double flash. Indicates insufficient power in the device
- Rapidly flashing yellow light. Shows the device is performing a factory reset
- Blue Yellow color: Indicates a firmware update performance
Check this too: Vivint Doorbell How to & Troubleshooting Guide
Skybell stream could not be established: causes & fixes
This can be resolved in several ways as follows depending on the issue at hand:
- SkyBell not synced: In this case, the device may not be sending video feeds because it is not synced to the servers. This can be fixed by contacting the customer care service.
- Wrong voltage. In case of insufficient voltage, the device may have a hiccup. Ensure that it is either 12-36vac or 12vdc. You may have to call an electrican to get the measurements right.
- Get the router settings right: Always set the router in the B/G mode for the device to work. In addition, change the setting to 20 megahertz instead of 40.
- Frequency band: Skybell communicates on the 2.4 gigahertz band. You need a mobile phone to sync. In case of a dual band router, create a new SSID for the 2.4 gigahertz frequency band Wi-Fi connection.
- Check the upload speed: Skybell requires upload speeds greater than 1.5 megahertz thus a speed test is important. Anything less hinders the upload speeds and may affect video feeds.
- Run the mobile through power cycles: Power off the device after clearing cache and closing all applications. Turn off the mobile phone for 5 minutes before restarting and confirm if the video stream is steady.
- Use compatible phones: Make sure to use android and window phones that are compatible with the device. Avoid outdated models that are incompatible.