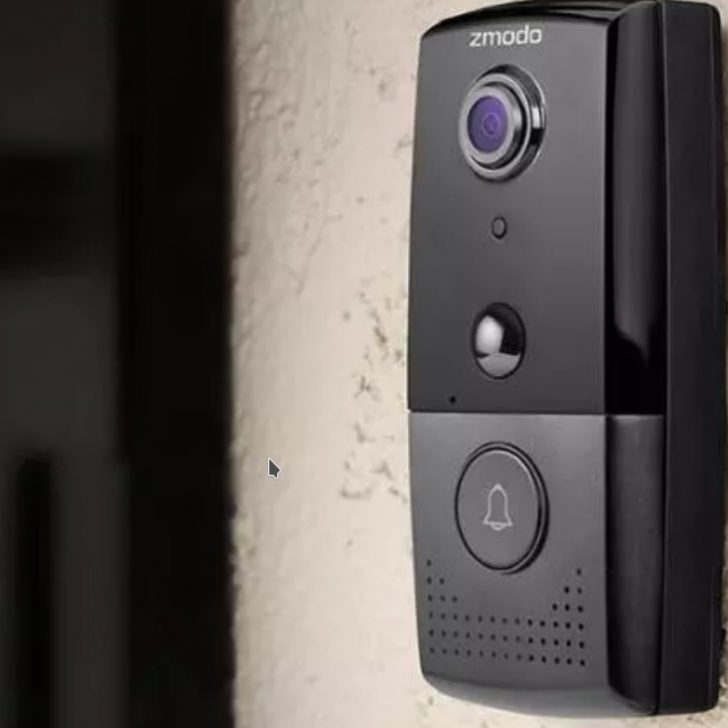
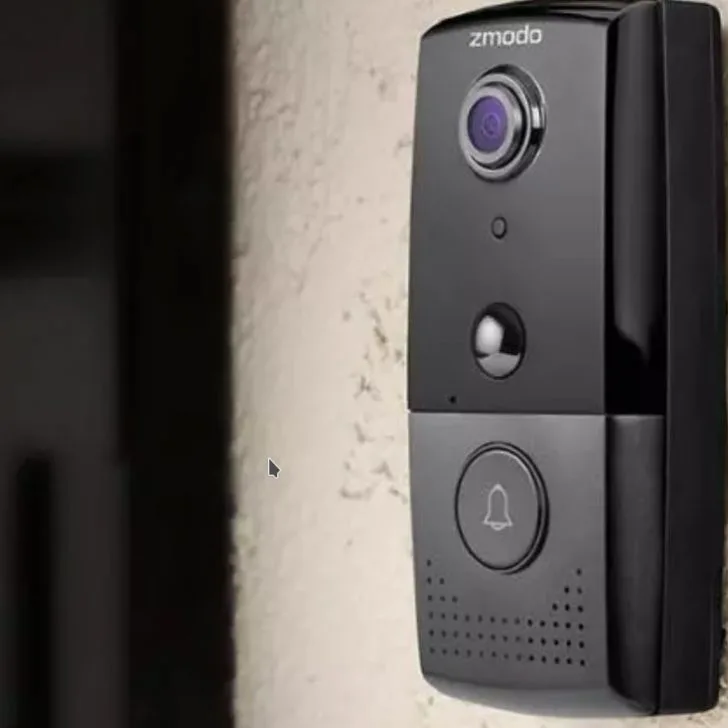
In the world of smart video doorbells, Zmodo doorbells take the cake when it comes to high-quality security video, night vision, and wireless live feeds. This makes them a top option when looking for a doorbell with a wide range of updated security.
And if you own a Zmodo doorbell, setting it up or troubleshooting it may seem like a science project. Not to worry, we have got you covered. This is a comprehensive guide to help you learn how to set up, use, and troubleshoot your Zmodo doorbell.
How to install a Zmodo doorbell
The Zmodo Greet Pro and Greet HD doorbells are extremely easy to set up. It shouldn’t take more than a few minutes to set up your new Zmodo doorbell. Here are the steps for installing a new Zmodo doorbell;
- Connect the Zmodo doorbell to the existing doorbell wiring.
- Then download the Zmodo app from Google Play Store or the Apple App Store.
- Create an account with your email and phone number.
- Connect the smartphone’s app to the Wi-Fi network.
- Add your Zmodo doorbells and name them.
- Then proceed to customize your doorbell settings.
- Refer to your user manual for more details.
How to connect the doorbell to the existing doorbell
Before you get started, ensure your doorbell wiring is connected to a 10-36 VAC mechanical doorbell chime circuit. If it isn’t, you will need a 20ohm resistor in the transformer circuit.
Then follow these steps to connect the doorbell;
- Turn off power at the breaker to prevent electric shock.
- Then remove the existing doorbell from the wiring. Make sure the two wires are exposed from the wall.
- Detach the mounting plate from the doorbell by loosening the two screws from the bottom of the Zmodo doorbell and sliding down the mounting bracket.
- Position the mounting bracket against the wall where you plan to mount your doorbell. And mark the holes for the screws with a pencil.
- Then drill the holes slightly smaller than the wall anchors. Use a level to ensure the mounting bracket is aligned.
- Proceed to fasten the bracket to the wall with the screws, and then feed the two exposed wires to the terminals on the bracket via tightening the screws.
- Fasten the wires to the terminals and ensure they do not touch each other.
- Then attach the Zmodo doorbell camera onto the bracket and secure it with the two screws on the bottom of the doorbell.
- Adjust the doorbell angle until you have the ideal viewing angle of your front door or porch.
- Then turn on the breaker to power on the doorbell camera.
Note: When mounting the doorbell on brick, concrete, or stucco, use the provided screws with anchors. For mounting on wood or vinyl, just drill the surface directly.
How to install a Zmodo doorbell without an existing doorbell
Fear not installing a doorbell without an existing doorbell is just as easy. Follow these steps to attach your doorbell to the wall;
- Turn off the breaker of your home or office.
- Then choose an ideal position on your front door or porch to install the doorbell.
- Detach the mounting plate from the doorbell by loosening the two screws from the bottom of the Zmodo doorbell and sliding down the mounting bracket.
- Position the mounting bracket against the wall where you plan to mount your doorbell. And mark the holes for the screws with a pencil.
- Then drill the holes slightly smaller than the wall anchors. Use a level to ensure the mounting bracket is aligned.
- If your doorbell wiring is not low voltage, add a 20 ohm/10 W resistor to the cable linking the Zmodo doorbell to the primary power.
- Fasten the wires to the terminals and ensure they do not touch each other.
- Then attach the Zmodo doorbell camera onto the bracket and secure it with the two screws on the bottom of the doorbell.
- Adjust the doorbell angle until you have the ideal viewing angle of your front door or porch.
- Then turn on the breaker to power on the doorbell camera.
Note: DO NOT connect the Zmodo doorbell camera to primary power (110/120 V AC & 220/230/240 V AC). Always add a 20 ohm/10 W resistor between the doorbell and one wire from the power source.
How to reset a Zmodo doorbell
Resetting your doorbell gives you a clean slate, especially if it is not working correctly. However, it is essential to note that resetting your doorbell will wipe out your customized settings. (But it will not delete footage.) Ensure you check that there is no other option left before you reset your doorbell.
So when should you reset your doorbell?
- You have switched to a new Wi-Fi network, and your doorbell is not connecting.
- Your doorbell light indicator is red. This means the doorbell is not connecting to the Wi-Fi network even after confirming the password input is correct.
Resetting your Zmodo doorbell depends on the model and version. You can reset some Zmodo models by inserting a paper clip in the pinhole at the bottom of the doorbell. Other models have a touchpad with reset capability.
Resetting a Zmodo doorbell with a pinhole;
- Detach the Zmodo doorbell device from the wall.
- Lay it on a flat surface with the camera facing upward.
- Locate the pinhole at the bottom of the doorbell.
- Then take a paper clip and insert it into the hole.
- When the light blinks green, it has reset itself.
Resetting a Zmodo doorbell with a touchpad;
This method applies to Smart Zmodo doorbells such as the Zmodo Pivot.
- Locate the touchpad button, which is usually located on the top of the device.
- Hold down on the touchpad for 10 seconds.
- Wait until the light blinks green.
For more detail regarding the reset process, refer to your user manual.
How to delete video footage from your Zmodo doorbell
Unless you have the Zmodo monthly subscription, your Zmodo doorbell will only store 10-second recordings for 12 hours after being captured. The footage can be access on the Zmodo app. To free up space, you may have to delete the footage from time to time.
Follow these steps to delete the footage;
- Open the Zmodo MeShare app.
- Then go to the “Events” page.
- Click on alert.
- Then press the trashcan icon.
Note; you cannot manually delete footage if you have a subscription plan. In this instance, you will have to wait until the subscription period has passed.
How to set up a Zmodo wireless doorbell
You need to download the Zmodo app and ensure your phone is connected to Wi-Fi. The band must be 2.4 GHz for Zmodo Greet doorbells. Then follow the steps below to set up the doorbell;
- Login to your Zmodo account or register if you do not have one.
- Select the (+) Add Device option> wireless device to add your Greet.
- Enter your Wi-Fi password. It should be the same network your phone is on.
- It will take a few minutes for SmartLink to find and connect your Greet to the Wi-Fi network automatically.
- Name your device.
- The app will also prompt you to select a time zone. It will also ask whether you want to share the device or not.
- Once you have selected the options, the setup is complete.
Note: ensure you enter your Wi-Fi password correctly, or the setup will not be successful. Poor internet connection will also prevent a successful setup. So ensure the Wi-Fi signal is strong enough to support the doorbell.
How do I change the Wi-Fi on my Zmodo doorbell?
To switch to a different Wi-Fi network, you will need to set up your doorbell afresh.
- Delete the camera from your account in the MeShare Zmodo app.
- Connect your mobile device to the new wireless network that your camera will use.
- Ensure your doorbell is connected to power before setting up the doorbell.
- Then add the device again using the same setup process as before.
- Then input the new network name and password.
- And finally, name your device, and you are good to go.
Zmodo doorbell offline fix
If your doorbell keeps going offline, the most common culprit is the internet connection. Here are some easy steps to troubleshoot the issue and fix it;
- Check to see if the Wi-Fi password keyed in on the Zmodo app is correct and rectify if necessary.
- Then check to see if the Wi-Fi IP address assigned to the doorbell is detectable by the router. If not, assign a new IP address to the doorbell.
- Ensure your Wi-Fi band is 2.4 GHz as Zmodo doorbells do not support the 5 GHz band.
- Lastly, check to see if your Wi-Fi signal is too weak.
How to improve doorbell Wi-Fi connection
Always ensure that the Wi-Fi router is close to the doorbell to improve internet connectivity. If you cannot reduce the distance between the router and the doorbell, invest in a Wi-Fi extender. And place it near the doorbell to boost the signal. Also, ensure that the Wi-Fi signal is not being blocked by walls or furniture.
Check this too: Nutone Video Doorbell Troubleshooting & How to Guide
Zmodo doorbell doesn’t ring inside.
Ensure you have a mechanical chime as Zmodo doorbells are not compatible with digital or electronic chimes. Then check to see if there is continuity and hire a licensed electrician to fix the wiring if there is an issue. Turn off the power at the circuit breaker box before performing the continuity test.
If you have a Zmodo Noise Corrector doorbell, check to see if its batteries are working and replace them if needed. Lastly, depending on the type of chime box you have, check to see if it has been muted and unmute it.
Zmodo doorbell LED indicator light meanings.
- If the doorbell indicator light is blinking green, then it is ready for setup. Follow the setup instructions above or refer to your user manual to set it up.
- Do not touch the doorbell if it is blinking blue, as this means it is in the process of connecting to the router.
- The connection is successful if the indicator light turns to a solid blue light.