While a VPN isn’t necessary when gaming, console owners find themselves using their gadgets for more than games, gaming consoles have better browsers and apps nowadays, making them comprehensive infotainment centers at home.
With the increased responsibilities, the need for a VPN for extra cybersecurity or temporarily changing your location becomes more plausible.
No VPN Apps on the PlayStation Store
If you’ve been searching for your favorite VPN provider app on the PlayStation Store, I am sorry to inform you that you won’t find it.
Sony does not allow any VPN apps on the store. This makes using a VPN service on a PS4 or PS5 more complicated than on an Android TV, Windows PC, and other smart TVs.
We will share a couple of workarounds you can use to get a VPN service on your PlayStation console.
Use a Smart DNS for VPN-Like* Functionality.
Your PS4 has a smart DNS functionality under the network settings menu. This means you can get a Smart DNS from a VPN provider that will transport you to another region, giving you access to restricted content.
Though setting up a smart DNS is simple, you won’t have all the encryption you get from using a traditional VPN. Moreover, most VPN providers either don’t over a Smart DNS service or will have you pay extra for the DNS.
Once you have purchased the DNS, you can follow these steps to set it up on your PS4.
- Navigate to the settings menu on your PS4’s homescreen
- Select Network
- Under Network, go to ‘Set up internet connection.’
- Choose Wi-Fi or LAN depending on which connection you use
- Choose ‘Custom’ configuration
- Unde the IP address option and set it to ‘Auto.’
- Under the DCHP Host option, select ‘Do Not Specify.’
- Under DNS, set to Manual, then enter the Smart DNS address you purchased from your Provider
- Go to the ‘MUT Settings’ option and change it to ‘Auto.’
- Go to ‘Proxy Server’ and set it to ‘Do Not Use.’
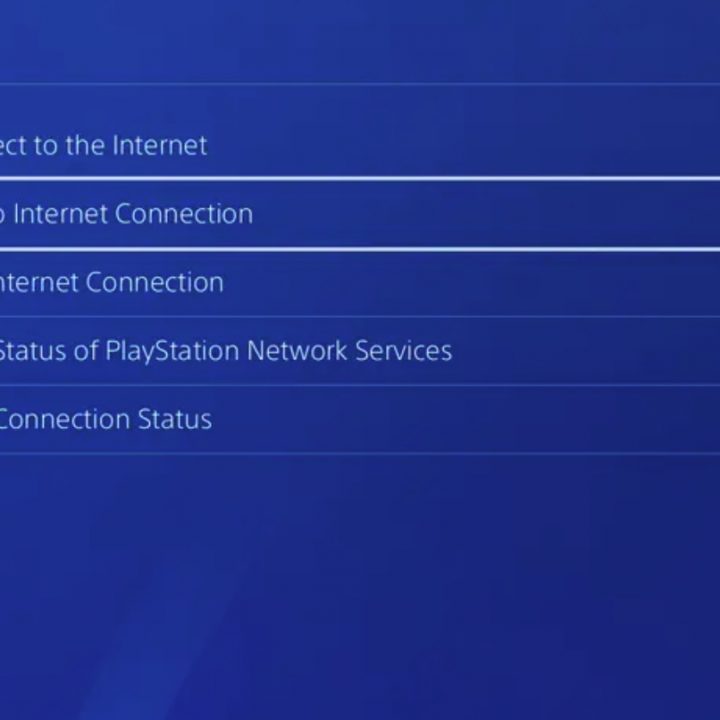
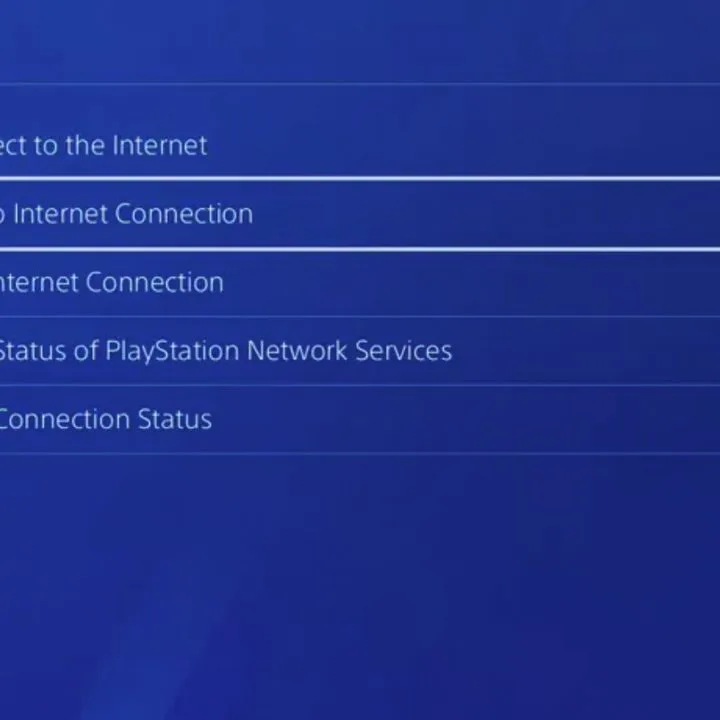
You can now go to the Test Internet Connection section to confirm that your smart DNS configuration worked and that you can access the internet.
Set Up the VPN on Your Router
This is the easiest way to use an actual VPN on your PS4 gaming console. By installing the VPN on a router, you can encrypt the connection for all devices connecting via the router or choose what devices tunnel through the VPN.
For this to work, you will need a router that supports VPN connections. Most of the routers ISPs give don’t have this feature or implement it terribly.
However, if you have a gaming router or are considering buying one, you can get a unit that supports VPN configuration. Here are some VPN routers on Amazon.
Follow the router-specific guide on how to set up the VPN and use it to reroute connections from all your home devices or select devices.
Share Network from a PC With a VPN Connection Running
If you don’t have a VPN-capable router and don’t feel like buying one, you can share an already encrypted connection from your PC or laptop.
To do this, you will need a laptop or computer with internet access and an installed VPN app.
The computer must have two network cards. One will be for the connection to the internet, and the other will be to share the network with other devices (the PS4). An example of the connection would be:
- Connecting your laptop to the internet via an Ethernet port and creating a shared WiFi network using the onboard WiFi card (you can do the same if you have a desktop computer with an Ethernet port and onboard WiFi
- Using a computer with two Ethernet cards. One to connect to the internet and one to share the network
ProTip: This cannot work if your computer has just one network interface (just wifi with no ethernet, or just one ethernet card with no wifi or secondary ethernet card)
Here is an example of how you would share via ethernet
- Connect your laptop to the internet via WiFi
- Launch the VPN app on your laptop and connect to the desired location. Launch your browser to test that you can still access the web
- Plug one end of the Ethernet cable to your laptop’s ethernet port and the other end to the PS4 ethernet port
- Launch Control Panel > Network and Internet > Network and Sharing Center on your computer.
- Select Change Adapter Settings
- Right-click on the Network Adapter with your VPN name and select Properties
- Go to the Sharing Tab and select the ‘Allow Other Network Users to Connect Through This Computer’s Internet Connection’ option.
- On the Home network connection dropdown, select your internet connection. For our laptop, this will be a WiFi connection. It can be a LAN connection on a desktop PC with two ethernet ports.
The configuration on the PC side is complete—time to hop onto your PS4 and finish the connection.
- On the PS4, navigate to Settings > Network Settings > Set up Internet Connection > Use a Lan Cable and then select the Easy Connection option.
- When prompted to use a proxy, select the ‘Do Not Use a Proxy Server’ option
If everything is all right, you can now access the internet on your PS4 via the PC that already has a VPN running.
Any location changes will be implemented on the VPN on the PC. Shutting off the VPN connection will also let the PS4 connect to the internet without encryption or location changes. Note that your PC must remain on throughout and connected to the internet for this to work.
Set Up the VPN on a Mac and Share the Network
You can still do the above configuration if you don’t own a PC and drive a Mac. Just ensure like the PC, the Mac you use has an Ethernet Port and a Wi-Fi card.
- Install and set up a VPN software of your choice on the Mac
- Ensure that the Mac is connected to the internet and the VPN is set to the desired location, and working
- Plug one side of the ethernet cable to the Mac port and the other end to the gaming console
- On the Mac, go to System Preferences > Sharing and select Internet Sharing
- On the Share your connection from the menu, select WiFi
- On the computers, using the dropdown menu, select Ethernet
- Tick the checkbox left of the ‘Internet Sharing’ menu to turn it on. The text after this will turn to On, and the checkbox (radio button) will turn green.
That is all the configuration you need to do on your Mac. Now let’s hop onto your PC for the final configuration.
On the PS4
- Navigate to Settings > Network Settings > Set Up Internet Connection > Use LAN cable
- Opt for an easy connection method
- After it goes through the auto-connect process, you will be prompted to use a Proxy Server. Decline this option.
Tether From a Smartphone Running a VPN
Under dire circumstances, you can use your smartphone to tether and beam a wifi signal to your PS4.
The only problem is that creating a WiFi Hotspot from your Android device will disconnect from your home WiFi, forcing you to rely on a data plan.
- You will need a data plan on your Android smartphone
- A VPN app is installed, activated, and connected to your preferred location server
- Turn on the WiFi hotspot and connect your PS4 to your smartphone Hotspot
This is the last resort option as it forces you to use a cellular data plan on your phone for the entire connection to work. It is not a good idea when downloading big files or streaming a lot of video content unless your data plan can back it up.