The GLAS thermostat by Johnson Controls is one of the best devices when shopping for a smart thermostat for your home. It comes in a stylish design and with impressive features. With the GLAS smart thermostat app, you could tweak the temperature from anywhere easily, from any device, or even with your voice. GLAS works with Google Assistant and Amazon Alexa.
However, GLAS smart thermostat has been discontinued by Johnson Controls. But if you already have the thermostat and are having issues with it, or you are looking for assistance setting it up, hopefully, you will find the following guide useful.
How Do You Install a Johnson Control Thermostat?
Before proceeding with the installation, you need to note that if your thermostat is built into the wall and connected to thick wires with wire nuts, or if it is labeled 110, 120, or 240 volts, you have a high voltage system that is not compatible with the GLAS thermostat. Do not connect your thermostat to these high voltage wires. GLAS is only compatible with 24VAC systems.
Follow the instructions below to install your Johnson Control GLAS thermostat:
- Turn off system power
- Turn off the power to your heating or cooling system at your breaker box to avoid shock or electrocution.
- If you want to check your system’s power, adjust the temperature on your current thermostat enough that the system switches to heating or cooling mode. If the system does not power on in a few minutes, it is off.
- Check old wiring
- Remove the front plate of your old thermostat and take a photo of the current wiring that shows the wire colors and connections. The photo will help you when connecting your new thermostat.
- Remove the cover of your furnace or air handling unit to access the control board. If you have a C-wire, skip to step 8. If you do not have a C-wire to power your thermostat, use the included adapter to provide power.
- In your HVAC equipment, disconnect the wires from the control board and connect them to the open terminals on the adapter.
- Connect the wired terminals on the other side of the adapter back to the control board. Use the included magnet to mount.
- Disconnect your old thermostat and remove the backplate. Use drywall-safe tape to secure the wires and keep them from falling back into the wall.
- Install your GLAS thermostat
- Remove the frontplate by pulling the top of the silver cover towards you.
- Use a level to dry fit your GLAS thermostat and mark the wall where you plan to hang the device. Then drill in the drywall anchors.
- Pull all of the wires through the back of the GLAS thermostat.
- Attach your GLAS thermostat
- Loosely attach your GLAS thermostat to the wall using the included screws.
- Use your level or the level displayed on the device to straighten the thermostat and tighten the screws. Do not over-tighten.
- Wire your GLAS thermostat
- Use the photo you took of your old wiring as a reference and connect the wires to the corresponding terminals on your new GLAS thermostat. Note that you do not need to have a wire for every terminal.
- Attach the front plate. Make sure any access wire is flush against the wall and press the front plate until you hear a click.
- Power on your HVAC system
- Return to your system switch or breaker box and turn the power back on.
- Confirm that the detected wiring shown on the device screen is correct or tap any terminals incorrectly identified.
- Follow the instructions on the device screen to complete the setup for your HVAC equipment.
Check this too: Mysa Smart Thermostat How-to & Troubleshooting Guide
How to Connect Johnson Controls GLAS Thermostat to Wi-Fi
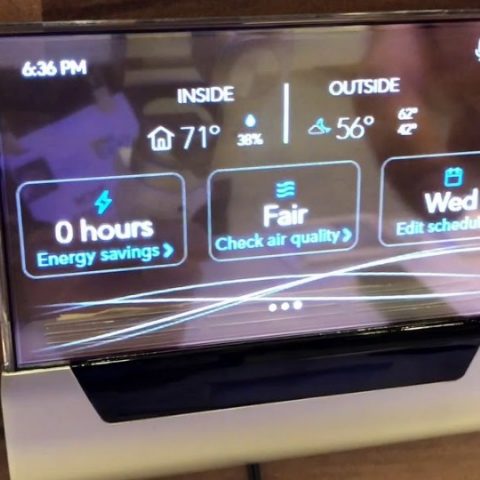
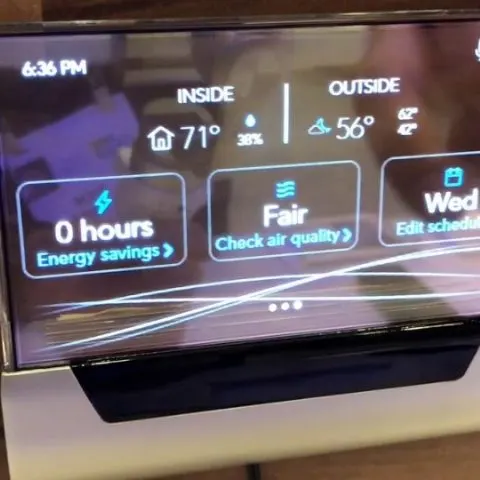
Connection to Wi-Fi allows you to get the most out of your GLAS thermostat. A Wi-Fi connection tracks the outdoor weather in your location to help you choose the most efficient temperature settings. Outdoor weather tracking also allows the thermostat to calculate your energy savings to improve your energy usage.
Also, you can access your thermostat remotely from your mobile device or the web when using Wi-Fi.
Connection to Wi-Fi is part of the setup process you will walk through during installation.
If you want to make any updates to your Wi-Fi connection, navigate to Settings> General> Wi-Fi. Use the list provided to select the new network you wish to connect to and input the password.
If you do not see the network you would like to use shown on the list, scroll to the bottom of the screen and select “Other”. Type in the name and password of the network you wish to connect to. The new network will be added to the network list.
Johnson Controls GLAS Thermostat Won’t Turn On
There are several issues that could prevent the thermostat from turning on. If the thermostat display is dark, a lack of power may be the culprit. Try replacing the batteries, then check for a blown fuse or tripped breaker in the electrical panel.
If the problem is not resolved, make sure the breaker is shut off and remove the cover. If it looks dirty inside, clean away the accumulated grime that may be affecting its functionality using canned air or a soft artist brush. Then look for issues like loose wiring or terminal screws and tighten them up.
If the device is unresponsive, reboot the thermostat by removing the cover and holding the green power button on the bottom left of the thermostat for 30 seconds, until the GLAS logo is displayed. This action will not delete any of your settings or data.
Johnson Controls Touch Screen Not Working
To register your presence, GLAS uses a proximity sensor to detect your movements or by tapping on the screen. If the screen does not seem to work or it is not illuminating, try holding your hand steadily in front of the device’s base.
If the device is unresponsive, reboot the thermostat by removing the cover and holding the green power button on the bottom left of the thermostat for 30 seconds, until the GLAS logo is displayed. This action will not delete any of your settings or data.
How to Connect GLAS Thermostat to Alexa
GLAS works with Amazon Alexa, allowing for the thermostat to be controlled through an Alexa-enabled device such as Amazon Echo. When connected, you could adjust the temperature, dim the lights, and more, all with the sound of your voice.
To connect your GLAS thermostat to Alexa, you will need to use either the Alexa mobile app on your smartphone or tablet or visit echo.amazon.com on your web browser. From your home Wi-Fi, use your GLAS username and password and follow the steps below:
To connect your thermostat using guided discovery, in the Alexa app:
- From the menu, select “Add Device”.
- Select the type of smart home device you want to connect, which in this case is a thermostat.
- Select the brand (GLAS) and follow the on-screen instructions.
To connect using smart home skills, in the Alexa app:
- Go to the menu, and then select “Skills”.
- Find the skill for your device, and then select “Enable”. Follow the on-screen instructions to complete the linking process.
- Ask Alexa to discover your device. Say, “Discover my devices,” or select “Add Device” in the Devices section of the Alexa app.
Note that voice assistants use the same name you gave your GLAS during setup and installation. This helps your voice assistant distinguish control of different GLAS devices in your home.
GLAS will accept commands through Alexa that begin with the wake word “Alexa” and one of the following commands:
- Increase <my GLAS device name> thermostat by X degrees
- Decrease <my GLAS device name> thermostat by X degrees
- Set the thermostat to X degrees
- Set <my GLAS device name> thermostat to <heat, cool, auto, off>
- What’s <my GLAS device name> thermostat temperature
How Do I Reset My GLAS Thermostat
If you are having issues with your Johnson Controls GLAS thermostat, re-booting the device by navigating to Settings> General > Restart may resolve the problem. Restarting will not erase any of your stored data.
If the device is unresponsive, you can reboot the thermostat by removing the cover and holding the green power button on the bottom left of the device for 30 seconds, until you see the GLAS logo. This action will not delete any of your settings or data.
You may also do a factory reset by choosing the “factory reset” option from the same Settings Menu. However, a factory reset will delete all stored data on the device, including temperature preferences, schedules, connection to your devices, and any other personal data. After doing a factory reset, check the updates and install the latest security and functionality features to make sure that your reset thermostat is up-to-date.
How Do You Lock a GLAS Thermostat?
Besides bringing various bug fixes, GLAS update 1.0.1.139 brought new features which include Passcode. This lets you enable a passcode to lock your thermostat from unapproved changes to your temperature, settings, setpoints, or schedule.
To set a passcode, go to Settings> General> Passcode
How Do I Change the Date and Time on My Johnson Controls GLAS Smart Thermostat?
GLAS automatically manages the date and time on your device when connected to Wi-Fi and internet-based time service is available.
However, you can also adjust the date and time manually in the case your thermostat is not connected to the internet or is unable to reach an internet-based time service. To manually adjust the date and time, go to Settings> General> Date & Time. You can always adjust the time zone of your device from the same menu.
How Do You Remove a GLAS Thermostat Cover?
To remove your Johnson Controls GLAS thermostat’s frontplate, pull the top of the silver cover towards you.
How to Connect a Johnson Controls GLAS Thermostat to a Remote Sensor
Johnson GLAS thermostat has one auxiliary output (AUX terminal) that can be configured for one auxiliary device. The following is a list of supported types of equipment:
- Humidifiers
- Dehumidifiers
- Ventilators
You can also configure the auxiliary output in “On while occupied” mode, which will turn the auxiliary output on anytime the device is in “Home” or “Sleep” modes, and off when it is in the Away state.
Furnace-powered auxiliary device
An integrated auxiliary system is built into a furnace or air handler that shares the same power supply as the rest of the system and only requires a single control wire.
2-wire auxiliary device without C terminal
An auxiliary device that has two terminals with the same label (HUM, DEHUM, or AUX) and no C terminal requires a relay pack for operation.
- Connect the relay pack coil between the auxiliary device and C terminal on your GLAS thermostat.
- Connect the switch side of the relay pack to the two terminals on the AUX device.
2-wire auxiliary device with C terminal
An auxiliary device with one C terminal that does not require a relay pack for operation.
- Connect the C terminal of the device to the C terminal on the furnace or air handler.
- Connect the AUX terminal on your GLAS thermostat to the control terminal on the auxiliary device.
Connect GLAS Thermostat to Apple Homekit
GLAS thermostats cannot integrate with Apple HomeKit. GLAS only works with Google Assistant or Amazon Alexa voice commands.
Check this too: Nest Thermostat How to & Troubleshooting Guide
Was the Johnson Controls Thermostat Model Discontinued?
Johnson Controls discontinued the GLAS Smart Thermostat. First, the GLAS smart thermostat model number SIO2-00000 was discontinued in 2019 and then followed by the replacement model SIO2-10000 was also discontinued in 2020.
Where is the MAC address in My Johnson GLAS Thermostat?
You can find the Wi-Fi MAC address at the back of your device where it is printed. Alternatively, you can get the MAC address from a running device by navigating to Settings> Support> Device info.