
Installing cement board is an essential part of bathroom renovation. One of the concerns that cross our mind is cement board waterproofing necessary? Concrete is not waterproof but can resist water and still not breakdown due to wetness. Hence cement board waterproofing does not count during the process.
Although it’s not one of the most fun projects, the long-lasting results are worth the investment. This idea brings us to answer the question of how to install cement around the shower?
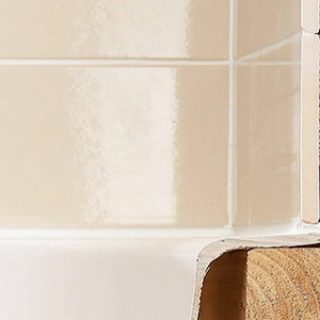
To start with, consider the wall and floor where the tub sits.
Walls
The first thing to consider is the wall. Attach a vapor barrier behind the cement board as an intervening moisture membrane. Can you put cement board over drywall? In wet areas like the showers never place it on drywall. Instead, remove the existing surface and place the cement on the studs and membrane. It will act as a vapor barrier behind the cement board.
Flooring
If there is tiling around the tub, the cement board will rest on plywood. There is no need to place a backer board on a concrete substrate. It can attach on concrete provided there are no significant cracks on the surface.
Step 1
Take measurements of both the length and the width of the middle tub wall. Arrange the layout of the backer drop panels to provide room for the use of many full-size panels. Install the cement backer board as high as the wall panels.
Step 2
Use carbide stripped scoring knife to score the face of the panels. Hit the panel behind the scoreline to fix it. Separate the pieces by cutting through the fiberglass mesh on the back of the panel.
Step 3
Create a cardboard pattern to design the valve, spout, and show head. Transfer the allocations to the cement backer board with the help of a template. Use a jigsaw to cut the openings. Ensure that the stud faces are on the same plane.
Step 4
Lift the backer board panel into the tub area and set several shims ¼ inch gap between the board and tub. Use galvanized backer board screws to secure the panels to the wall. Continue aligning and fitting the panels with 1/8 inch gap between the panels. The latter will provide enough room for expansion and contraction.
Step 5
Cover the seams of the panel by measuring and cutting the fiberglass tape. Reinforce the seams by use of thin-set mortar with a trowel. To wrap up, apply silicone caulk around the perimeter where the backer board meets the tub.
The above simple steps are all you need if you want to know how to install cement backer board around a tub. Which step do you think will give you the most trouble during the process? In any case, you can seek professional help if you get stuck.