
Ring doorbells, like any other security doorbell, must be secure from buglers and vandals. A good way to make this possible is to make it a bit harder to remove the doorbell from your front wall.
Mounting your Ring Doorbell the traditional way using the hardware they provide ensures that you get this protection. Ring uses a security screw that can easily throw off any burglar who does not have the correct screwdriver for the job.
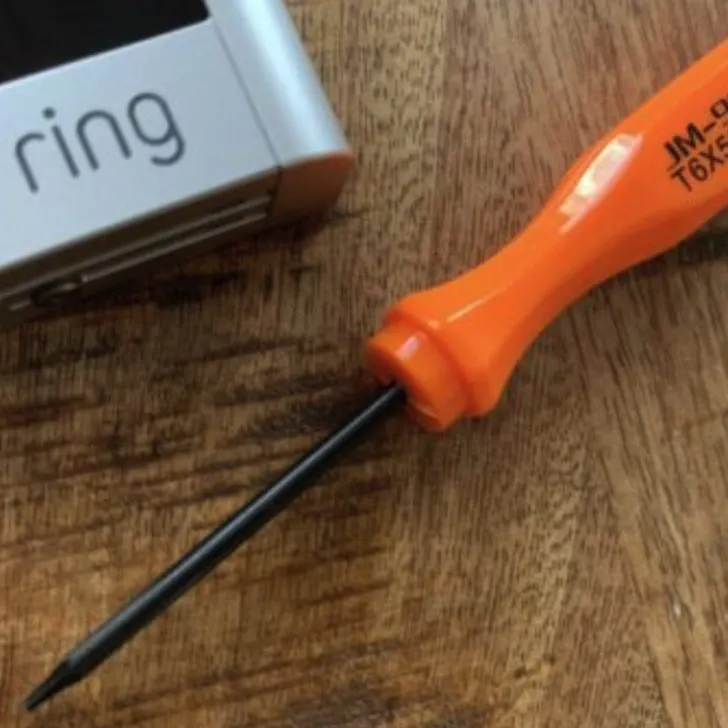
Does Ring Doorbell Have a Special Screwdriver
Yes. It does. The security screw on your Ring Doorbell needs a special screw that will fit its head to undo. This is the tool we are talking about. You will need it when removing the Ring Doorbell to charge or when moving houses.
- You will get a free Ring Doorbell screwdriver when you purchase your unit
- If you lose your screwdriver, you can order a replacement unit
- You can buy a third-party screwdriver with the correct head to fit the safety screw
What to Do If You Don’t Have the Ring Doorbell Tool
The proprietary screwdriver is tiny and easy to misplace. Since you won’t have to use it that often, it isn’t unheard of to have it disappear somewhere in your many garage drawers. If this happens to you and you feel you don’t have the time to order a replacement, here are a couple of things you can do instead.
Start from the first suggestion as each increase in severity of damage to the doorbell or the mounting surface.
ProTip: Getting a replacement screwdriver/tool is the perfect way to loosen the Ring doorbell security screw without damaging it. Look for one if you intend to re-use or resell your doorbell.
Try Working it Out Using a Small Flathead Screwdriver or a T15 Torx Screw
If you are careful enough and the security screw isn’t so tight, you can carefully work it out by fitting a flat head screw or a T15 Torx into two of the indentations and turning it loose.
This is delicate work, and it takes time. Moreover, since the screw is often inconveniently placed (at the bottom facing down in most models), be ready to spend long minutes in an awkward position.
- Choose a small flat blade screwdriver that can snugly slot into two of the screw head indentations.
- Insert the screwdriver firmly into the indentations and turn to undo the screwdriver. Make the motion slow and deliberate with the screwdriver still pressed against the screw to reduce the chances of skipping out of the indentations.
- If you are lucky, the screw will start to turn. Keep turning slowly until it is fully undone
- If you are not, the flathead screwdriver will bend or skip the indentation. Get a stronger screw and try again with more pressure against the screw.
Be careful not to strip the screw. If it is too tight to turn using the flat head or Torx despite the screwdriver fitting into at least two of the indentations, discontinue the operation as you might end up stripping the screw head.
Drill it Out
If you don’t mind damaging the security screw, keep trying the above step even if you partially ruin the head. After it is evident you can’t get it to work, you can shift to drilling out the screw. You will need an electric screwdriver, drill, or impact driver for this.
ProTip: The drill bit you use should be rated to drill into metal, not wood
Here is how to drill out a screw
- Find a drill bit that is about 1/4 the diameter of the screwhead or as small as you can get to reduce the chances of ruining the screw hole.
- With the drill set to remove mode (to turn anticlockwise), firmly place the drill bit’s head onto the screw’s head and work the impact drivers/power drill’s control button to start turning the drill bit slowly.
- Keep applying firm pressure until the drill bit starts to sink into the screw head.
- The friction between the drill bit and the screw will eventually bite and start turning the screw counter-clockwise, freeing it from the screw hole.
You will need a replace safety screw (or ordinary screw) after this to secure your Ring doorbell to the mounting plate.
Pry the Base Plate Out of the Mounting Surface
If you don’t have a power drill or the correct drill bits to drill out the safety screw (or just don’t want to risk ruining your ring doorbell), you can opt to pry the entire mounting plate out of the mounting surface.
You will need a small chisel or some sturdy pieces of metal to work as pry tools. A hammer will also come in handy to dry the chisel under the mounting surface.
Warning: This approach will ruin the mounting surface. Depending on where the bell is mounted, this can be the wall or the door.
- Start working on the top right corner of the bell. Drive the chisel between the base place and the mounting surface at an angle to ensure all the pressure goes onto the mounting surface
- The goal is to deform the mounting surface enough such that you can use small but sturdy metal plates or a strong flat head screwdriver to pry the entire mounting plate out of the wall.
- Work your way around the entire bell so that it compromises the whole surface onto which it mounts
- Use a couple of flat head screwdrivers to pry the inter thing out of the wall.
This is a work of art, and you have to modify your approach depending on the mounting surface and how well mounted the bell is.
Be careful not to ruin any of the bell’s hardware and direct all the damage to the mounting surface.
You will still need the special screwdriver to disassemble the doorbell from the base plate for future mounting. This makes the solution perfect when you want to move or relocate the bell but can’t wait for a replacement screwdriver to arrive.
Cut Around the Ring Video Doorbell
Cutting it out is a safer alternative to prying the bell out of the wall or the door. This involves cutting out or chiseling out the entire surface it mounts on.
If it is mounted on wood or metal:
- Use a circular saw to cut through the mounting surface at a distance of an inch or so away from the bell
- Walk away with the entire bell and mounting surface cut off
- You will still need the specialized screwdriver to remove the doorbell from the mounting surface cutoff
If it is mounted on brick or some stone plaster treated board:
- Use the correct type of chisel to cut the mounting surface away, working from a distance of around two inches from the doorbell
- Aim to cut off a chunk of around an inch and a half deep from under the doorbell
- Work methodically to avoid damaging the doorbell as you chisel the surface it sits on away
- You can work out the chiseled bits in chunks to make the work easier
You will still need the special screwdriver to disconnect the doorbell from the mounting plate.
Warning: The last two steps will ruin the house. If it isn’t your house, get consent from the proprietor beforehand. Remember, you will have to pay for repairs regardless of whether it is your house or a rental unit.
Don’t Want All This Stress Again? Use a Regular Screw or Double Sided Tape
If you change houses a lot or just don’t want the hustle of looking for a specific screwdriver next time you want to remove the doorbell, you could opt to secure it in place using a traditional similar-sized Philips head screw.
Alternatively, you could do away with the traditional mounting and use double-sided tape to stick the doorbell to the wall or door.
This is a reasonable approach if you rent or have to charge your doorbell’s battery. However, you will forego the safety of firm screwdriver mounting.
The two workarounds won’t be much of a problem in most neighborhoods since burglars assume people secure their doorbells properly. They don’t run around trying to pry random units off the wall.