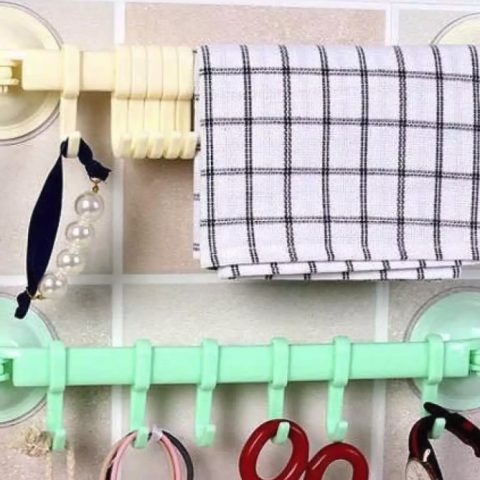
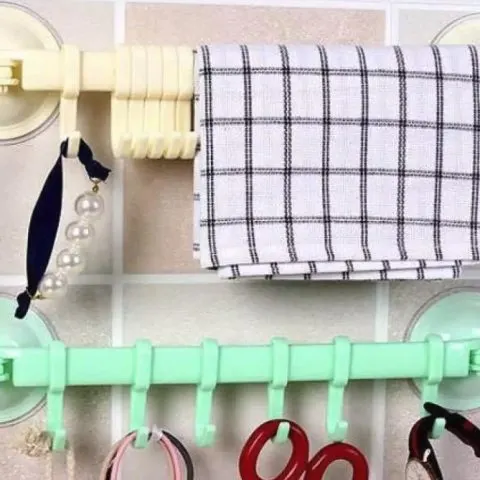
Suction cups are a great way to organize your living space and hang up stuff without puncturing your walls. While they are a quick fix, they are notorious for slipping and letting go when you least expect.
First things first. Suction cups stick the best to smooth and non-porous surfaces. An excellent example of perfect surfaces for your suction cups is glass, mirrors, tile, and metal.
A clean surface with no grime or soap film residues will enhance adhesion giving you a better bond.
Why Won’t My Suction Cups Stick?
Suction cups are temperamental and choosy. They will not stick if you use them wrong or try to attach them to the wrong surface. It all boils down to how they work.
When you press a suction cup onto a surface, it pushes out most of the air between it and the surface.
This creates a low pressure area underneath compared to atmospheric pressure. The stronger atmospheric pressure will push the suction cup against the surface and hold it there as long as air doesn’t seep back under the cap and equalize the pressure.
Anything that affects this pressure differential will stop your suction cups from sticking. Here are the top problems that could lead to failure.
Check this too: How to Clean Glass Shower Doors
Sticking them to Uneven or Porous Surfaces
Suction cups only work best on smooth, non-porous surfaces. While this could limit your application scenarios, it still gives you an idea of what you should expect when using them.
Uneven surfaces like textured walls or non-gloss paint surfaces create tiny openings between the suction cups and the walls. Air can escape back into the cup through these crevices, making air pressure between the inside and outside equalize over time.
Porous surfaces like brick, nongloss paint, and unsealed wood let air in through the natural pores. This will ruin the air pressure imbalance making the suction cups lose their ‘stick.’
ProTip: Even a slight curve on smooth surfaces like glass could throw your suction cup’s sticking power off. Ensure you stick yours to a surface that is as flat as possible.
Sticking them to a Dirty Surface
Dirty surfaces with contaminants like soap films, light dust films, and other types of grime could also ruin the seal around the suction cup.
The effect is more significant if you use smaller suction cups with thin edges and small air displacements.
Clean your surfaces well before giving them a final wipe down with rubbing alcohol to ensure they are as clean as possible.
Low-Quality Suction Cups
Getting the cheapest suction cups you come across can come back to haunt you. Low-quality cups are riddled with problems that affect how well they stick to surfaces. Some of the most common issues include:
- Thin edges that don’t form perfect air seals
- A small evacuation section in the suction cup leading to a smaller pressure differential hence inferior sticking power
- Fragile material that deteriorates and cracks over time
- Overrated weight holding capability that will encourage you to overload the cups, making them peel off easily
Hanging More Weight than they Can Support
The last thing that could bring down your suction cups is overloading them. Most packs will come with a recommended weight limit.
This is the much you can safely hand on the suction cups under ideal conditions. Don’t take the weight at face value.
If you are handing something fragile onto your suction cups, keep the weight at less than 3/4 of the recommended rating. This will reduce the chances of physically tearing the suction cups from the surfaces.
How to Make Suction Cups Stick to Glass (or smooth surfaces) Better
Getting good quality suction cups to stick onto a smooth surface should be straightforward. The trick is preparing the surface well before even applying the suction cup. Here are the steps to follow.
- Scrub the surface clean using a household cleaner
- Rinse it with clean water and dry it thoroughly
- Clean the surface with rubbing alcohol to get rid of any soap films and dry it thoroughly again
- Clean the suction cup with some warm water to make it more pliable and dry it thoroughly.
- Clean the inside of the suction cup with rubbing alcohol too
- Firmly press the suction cup in place until it is fully depressed to ensure there are no air bubbles between the cups and the mounting surface
- Give the cup at least 24 hours to dry before adding any weight to it
While such excellent preparation could fix a suction cup that doesn’t stick, you still have to check in on it now and then.
It’s natural for some air to seep under the cup over time, reducing its holding power to the point of failure.
Suction cups in high humidity areas like bathrooms also suffer from the stress of varying humidity from steam and air temperature. This could affect their pliability and how firmly they hold onto a surface. The air seal will deteriorate faster, making your suction cups fail.
Exposure to direct sunlight could also lead to UV deterioration. This will make the suction cups brittle or even make them develop micro-cracks that will cause them to leak air faster.
How to Make Suction Cups Stick on Textured Surfaces
We have already established that suction cups don’t fare well on uneven surfaces. Textured walls, tiles, or bathtubs fall under this category.
You only have three options when dealing with such surfaces:
Go for Big Cups With Thick Rubbery Sides
Big suction cups with thicker walls can still work on slightly textured surfaces. They displace more air giving them a better air pressure differential for the perfect hold.
Moreover, the suction cup’s more pliable walls can conform to the imperfections and create a perfect seal that will keep air out for longer.
Sand the Attachment Surfaces Smooth
If bigger suction cups will be an eyesore, your other option is turning specific spots of the surface smooth. An excellent way to do this is by using sandpaper to spot sand.
Star with an orbital sander with 40 grit sandpaper to knock down the texture on tough surfaces like tile and bathtubs before using finer grit sandpaper to smooth everything down.
If the textured surface is a painted wall, you can use higher grit sandpaper to hand sand and get the surface smooth. Since it will now be porous, you will have to apply some glossy paint to seal it.
ProTip: This will only work if you don’t mind sanding and potentially damaging the surface. Don’t try this on things you might resale, for instance, the dashboard of your vehicle.
Use Contact Adhesive to Attach Smooth Spots on It
Finally, you can use a contact adhesive to add some smooth surface for the suction cups to adhere to.
Some plain hard plastic that is almost the surface of the suction cups will get the job done. This extra step will do away with the stress of having to try to attach your suction cups to an unruly textured, rough surface.
Can Suction Cups Stick Forever?
No. Suction cups cannot stick forever. Over time, air will inevitably seep back under the suction cups making the pressure differential equalize.
Check this too: How to Clean Dirty Blinds
That is why you have to keep inspecting your suction cups and reapply them to the wall. I recommend checking on your suction cups at least once a month or every time you clean your walls.
Check them more often if they hold up something fragile that could crack when it drops to the floor.