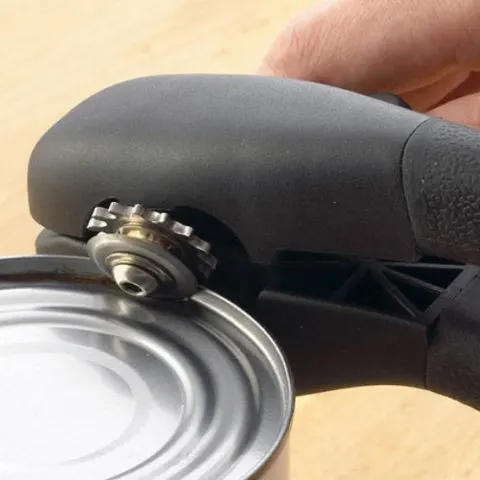
All your tools need to be in good working condition to use them efficiently. Can opener is a perfect device that requires to be sharp to use it hassle-free. When it’s dull, you spend a lot of energy trying to open the can, and some give up and replaces it. But the best idea is to sharpen your can opener instead of replacing it.
Do Can Openers Get Dull
Can openers do get dull after long periods of use, failure to maintain them well like not cleaning them often. Food particles may accumulate on the blades, making them dull.
Signs that Your Can Opener Needs Sharpening
Replace it when it stops working for you. Again, when it breaks, and your hand slips and stops cutting the tops of cans off quickly. It may still require replacement when it gets too dull to sharpen, and it has rust all over.
How to Sharpen Your Can Opener
- Clean the opener to remove dirt and all food particles and soak the blades in warm water with some little soap for an hour. Use a soft toothbrush to scrub the edges thoroughly. Test if the opener works well.
- If the opener is still dull, tear off a long strip of aluminum foil and fold it in half to make it thick. Run the aluminum foil carefully over the can opener’s blade to sharpen it. Spin the opener along the length of the aluminum strip until you have made several successful complete blade rotations. Check if the edges are sharp, and repeat the steps if needed.
- If you find that your blade is skipping or seems dull, you can also run sandpaper through the knife several times: clamp between the wheels and rotate the handle to move the foil or sandpaper through, and the material will clean and sharpen the blade.
- If these don’t work, buy replacement blades for your opener.
Sharpening Using a Knife or Scissors Sharpener
- Ensure you disconnect the can opener from the mains supply.
- Wash and dry the knife to be sharpened.
- Support the body of the can opener with one hand and insert the knife
- Rotate the unit sideways so that the knife sharpener is to your right
- .Press down the lever.
- Keep the blade lightly on either left or right groove. Draw the knife slowly toward you with a slow, even motion for the full length of its edge.
- Place the blade in the other groove and repeat 4 or 5 times, alternating from one groove to the other until you achieve the desired sharpness.
- Wash and dry the sharpened blade. Be careful when cleaning the sharp knife to avoid cutting yourself. It’s best to avoid sharpening the serrated blades as you will remove the serration design.
When and How to Do a Can Opener Blade Replacement
A good can opener is a necessary tool in any kitchen for preparing meals. You should always check your blade periodically to ensure no nicks or visible wear are on edge. When the blade has any groove felt with the fingernail, you should reverse it or replace it.
Check this too: Best Under Cabinet Can Opener
If you have a can opener that struggles to latch onto cans, has a difficult-to-turn knob, or has dull or rusty blades that fail to cut the entire way around, it’s probably time for a replacement. Again, if you find metal slivers in the food product, you should replace the blade.
Replacing Can Opener Blade
- Make sure you raise the handle before removing the two screws holding the old knife blade.
- Place a new knife blade on the holder and then the support plate over the knife blade.
- Align the holes and fasten the two screws.
- Do not remove or adjust any other parts.
Bottom Line
The best way to ensure your can opener is in good condition and sharp is through proper care and maintenance. Always clean it well after use, including the blade, and dry it for storage. When you notice any signs of being dull, you can use aluminum foil, sandpaper, and other items, as explained above.

